2023-01-09
Stable Diffusion 最迷人的地方,不是“输入一句话就出图”这么简单,而是它把文本理解、潜空间降噪、图像解码、风格控制这些东西拼成了一条很可操作的生产线。你可以写 prompt,也可以改图、补图、固定构图、批量生成,甚至把它包装成自己的图像服务。
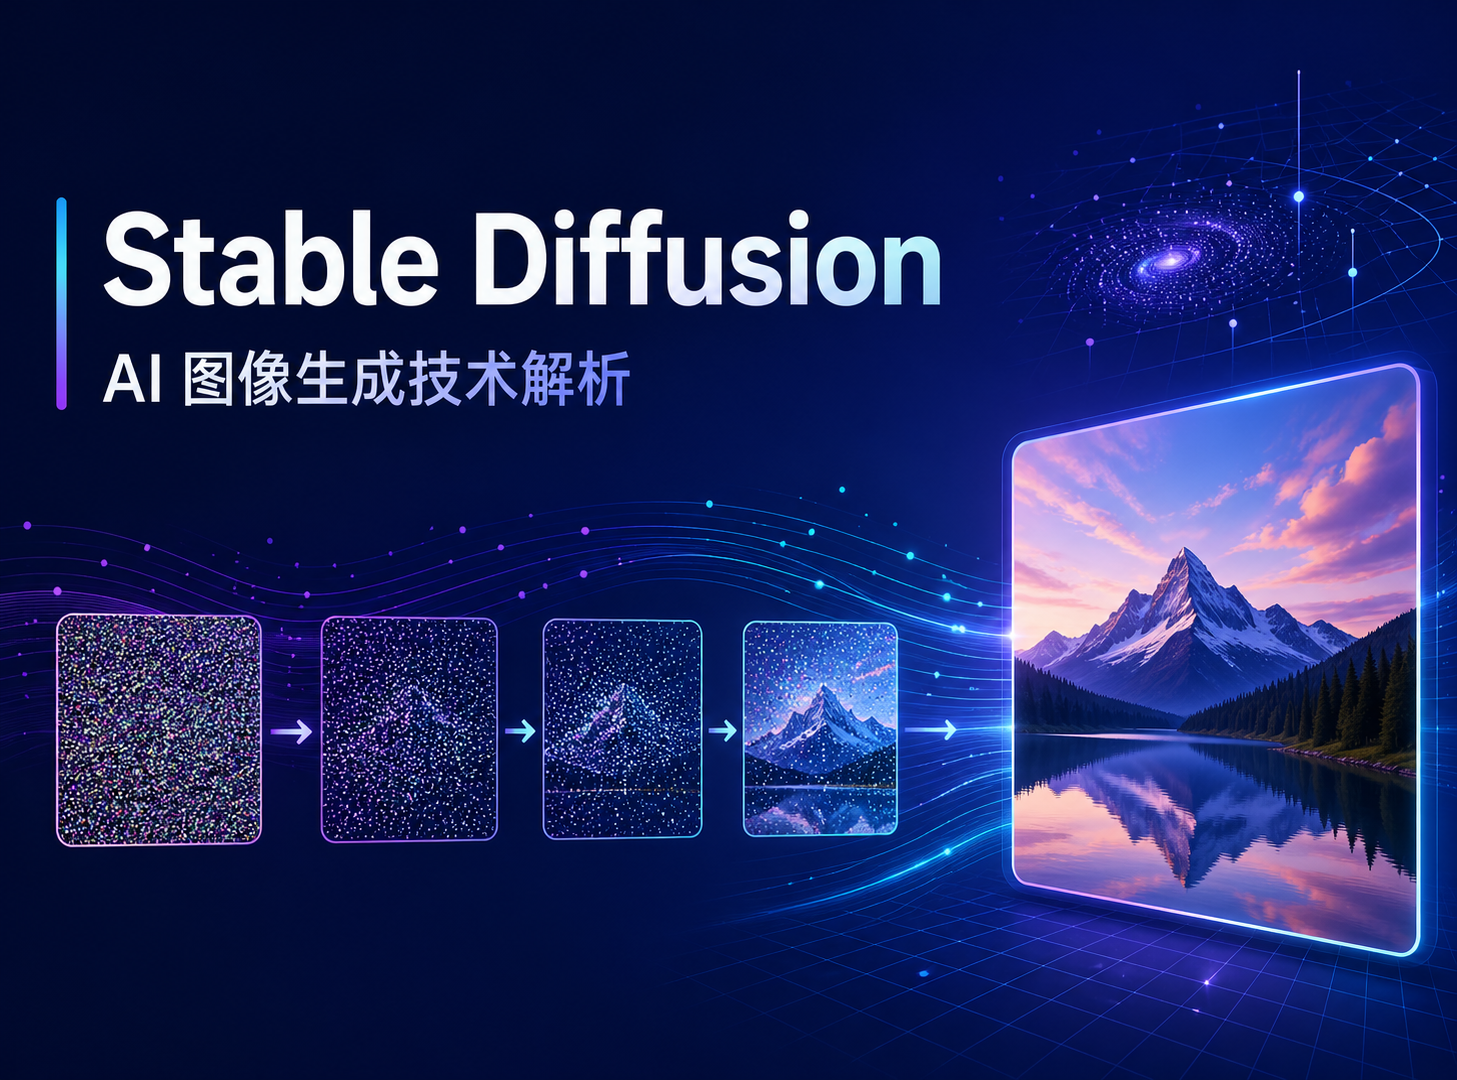
Stable Diffusion 属于 latent diffusion。直白点说,它不是直接在完整像素图上反复折腾,而是先把图像压到一个更小的潜空间里,在潜空间里一步步去掉噪声,最后再解码成图片。
一条简化链路大概是这样:
prompt -> text encoder -> latent noise -> denoise loop -> VAE decoder -> image
这里有几个主角:
text encoder 负责把文字变成向量,让模型知道你想要什么。
U-Net 或对应去噪网络负责在潜空间里修图,把随机噪声逐步推向目标画面。
scheduler 决定每一步怎么走,影响速度、细节和稳定性。
VAE 负责潜空间和真实图像之间的转换。

这个架构的好处很明显:生成成本比直接在高分辨率像素空间里操作低很多,也更容易加入 prompt、mask、参考图、边缘图、姿态图之类的控制信号。
安装常用依赖:
pip install diffusers transformers accelerate safetensors torch pillow
如果你有 CUDA 设备,torch.float16 可以明显节省显存;如果是 CPU,本地体验会慢很多,建议先用小尺寸、少步骤测试。
import torch
from diffusers import AutoPipelineForText2Image

model_id = "stabilityai/stable-diffusion-xl-base-1.0"
device = "cuda" if torch.cuda.is_available() else "cpu"
dtype = torch.float16 if device == "cuda" else torch.float32

pipe = AutoPipelineForText2Image.from_pretrained(
    model_id,
    torch_dtype=dtype,
    use_safetensors=True,
)
pipe = pipe.to(device)

prompt = (
    "a cozy cyberpunk reading room, warm desk lamp, "
    "glass window with city neon, cinematic composition"
)

image = pipe(
    prompt=prompt,
    num_inference_steps=28,
    guidance_scale=7.0,
    width=1024,
    height=1024,
).images[0]

image.save("sd_room.png")
AutoPipelineForText2Image 会根据模型类型选择合适的管线。num_inference_steps 越高,通常细节越稳,但成本也更高;guidance_scale 越高,模型越听 prompt,但过高可能让画面僵硬、过曝或风格发紧。
很多人刚上手会把 prompt 写成“一个女孩,一只猫,一间房”。这能跑,但可控性弱。更好的写法是把画面拆成几个层次:
主体:画面核心对象
场景:主体所处环境
风格:摄影、插画、电影感、产品渲染
光线:柔光、背光、霓虹、自然光
构图:近景、广角、俯视、对称构图
细节:材质、纹理、色彩、氛围
比如:
prompt = (
    "a handcrafted mechanical keyboard on a dark walnut desk, "
    "macro product photography, warm side light, shallow depth of field, "
    "black and amber color palette, crisp texture, premium commercial style"
)
negative prompt 用来告诉模型“别来这些东西”,它不是魔法清洁剂,但能减少常见瑕疵。
negative_prompt = (
    "low quality, blurry, distorted, extra fingers, broken geometry, "
    "watermark, messy text, overexposed"
)

image = pipe(
    prompt=prompt,
    negative_prompt=negative_prompt,
    num_inference_steps=30,
    guidance_scale=7.5,
    width=1024,
    height=1024,
).images[0]
小建议:prompt 不要一上来堆满形容词。先把主体和构图跑稳,再逐步加风格和细节。否则你很难判断到底是哪句话让画面跑偏。
Stable Diffusion 的参数很多,但常用的就几类。

num_inference_steps 控制去噪轮数。太低容易糊,太高收益会变小。
guidance_scale 控制 prompt 约束强度。太低容易自由发挥,太高容易画面发硬。
seed 控制随机起点。固定 seed 后,修改 prompt 或参数更容易做对比。
scheduler 控制采样策略。换 scheduler 往往会影响质感、速度和细节保留。
示例:固定 seed 生成多张可复现图片。
def generate_with_seed(pipe, prompt, seed, output_path):
    generator = torch.Generator(device=pipe.device).manual_seed(seed)
    image = pipe(
        prompt=prompt,
        negative_prompt="low quality, blurry, watermark",
        generator=generator,
        num_inference_steps=28,
        guidance_scale=7.0,
        width=1024,
        height=1024,
    ).images[0]
    image.save(output_path)
    return image


generate_with_seed(pipe, prompt, 3407, "seed_3407.png")
generate_with_seed(pipe, prompt, 9527, "seed_9527.png")
切换 scheduler 的写法也很直接:
from diffusers import DPMSolverMultistepScheduler

pipe.scheduler = DPMSolverMultistepScheduler.from_config(
    pipe.scheduler.config
)

image = pipe(
    prompt=prompt,
    negative_prompt=negative_prompt,
    num_inference_steps=24,
    guidance_scale=7.0,
).images[0]
不要把参数调优想成“找一个永远最优的值”。不同模型、不同主题、不同尺寸下,合适配置都可能不一样。工程里更实用的办法是固定几组预设,比如“快速草稿”“细节增强”“风格探索”,让调用方按场景选择。
做视觉探索时,一张一张点很累。可以用 Python 批量跑 prompt,再拼成网格。
from PIL import Image, ImageDraw


def make_grid(images, columns=2, gap=16, bg=(12, 18, 32)):
    w, h = images[0].size
    rows = (len(images) + columns - 1) // columns
    grid = Image.new(
        "RGB",
        (
            columns * w + (columns + 1) * gap,
            rows * h + (rows + 1) * gap,
        ),
        bg,
    )
    for idx, img in enumerate(images):
        x = gap + (idx % columns) * (w + gap)
        y = gap + (idx // columns) * (h + gap)
        grid.paste(img.convert("RGB"), (x, y))
    return grid


styles = [
    "cinematic lighting",
    "isometric game art",
    "editorial illustration",
    "premium product render",
]

images = []
for style in styles:
    styled_prompt = f"{prompt}, {style}"
    img = pipe(
        prompt=styled_prompt,
        negative_prompt=negative_prompt,
        num_inference_steps=24,
        guidance_scale=7.0,
        width=768,
        height=768,
    ).images[0]
    images.append(img)

grid = make_grid(images, columns=2)
grid.save("style_grid.png")
这个套路适合做封面、商品图、插画方向探索。先批量找方向,再挑图微调,比盯着一张图反复改 prompt 更省心。
文生图是从噪声起步,img2img 则从一张已有图片起步。它会保留原图的部分结构,同时根据 prompt 重绘细节。
from PIL import Image
from diffusers import AutoPipelineForImage2Image

img2img_pipe = AutoPipelineForImage2Image.from_pretrained(
    model_id,
    torch_dtype=dtype,
    use_safetensors=True,
)
img2img_pipe = img2img_pipe.to(device)

init_image = Image.open("sketch.png").convert("RGB").resize((1024, 1024))

prompt = (
    "a polished sci-fi control panel, dark metal material, "
    "blue and amber light, clean industrial design"
)

image = img2img_pipe(
    prompt=prompt,
    image=init_image,
    strength=0.45,
    guidance_scale=7.0,
    num_inference_steps=28,
).images[0]

image.save("img2img_panel.png")
strength 越低,越保留原图;越高,越接近重新生成。草图上色、摄影图风格化、UI 概念图重绘,都可以用这个思路。
inpainting 用 mask 指定要重绘的区域,非常适合修补、替换物体、扩展局部细节。

from diffusers import AutoPipelineForInpainting

inpaint_pipe = AutoPipelineForInpainting.from_pretrained(
    model_id,
    torch_dtype=dtype,
    use_safetensors=True,
)
inpaint_pipe = inpaint_pipe.to(device)

base_image = Image.open("room.png").convert("RGB").resize((1024, 1024))
mask_image = Image.open("mask.png").convert("RGB").resize((1024, 1024))

prompt = (
    "a modern amber floor lamp, soft warm glow, "
    "fits naturally with the room, realistic material"
)

image = inpaint_pipe(
    prompt=prompt,
    image=base_image,
    mask_image=mask_image,
    guidance_scale=7.0,
    num_inference_steps=30,
).images[0]

image.save("room_inpaint.png")
mask 的质量很重要。边缘太硬容易有拼贴感,边缘太飘又可能影响不该改的区域。业务里可以让前端提供涂抹工具,也可以用分割模型先做半自动 mask。
Stable Diffusion 很适合封装成服务,但不要把 Demo 代码原样塞进线上接口。至少要处理这些问题:
模型加载只做一次
输入尺寸有限制
并发队列要受控
生成参数要有白名单
输出文件要有清理策略
失败信息要可追踪
敏感内容要有审核流程
一个简单的服务类可以这样写:
from pathlib import Path
from uuid import uuid4


class ImageGenerator:
    def __init__(self, model_id, output_dir="outputs"):
        self.output_dir = Path(output_dir)
        self.output_dir.mkdir(parents=True, exist_ok=True)

        device = "cuda" if torch.cuda.is_available() else "cpu"
        dtype = torch.float16 if device == "cuda" else torch.float32

        self.pipe = AutoPipelineForText2Image.from_pretrained(
            model_id,
            torch_dtype=dtype,
            use_safetensors=True,
        ).to(device)

    def generate(self, prompt, negative_prompt=None, width=768, height=768):
        safe_width = min(max(width, 512), 1024)
        safe_height = min(max(height, 512), 1024)

        image = self.pipe(
            prompt=prompt,
            negative_prompt=negative_prompt or "low quality, blurry",
            width=safe_width,
            height=safe_height,
            num_inference_steps=24,
            guidance_scale=7.0,
        ).images[0]

        path = self.output_dir / f"{uuid4().hex}.png"
        image.save(path)
        return path


generator = ImageGenerator(model_id)
result_path = generator.generate(
    "a tiny bookstore hidden in a futuristic alley, warm light"
)
print(result_path)
这里没有写成完整 Web API,是故意的。先把模型加载、参数收口、输出管理这些核心问题封住,再套 FastAPI、Celery、消息队列都容易得多。